Sunday, December 27, 2020

Project-Zero: End of December Update

It's been a minute since my last update.  Haven't gotten a ton more progress in but there are a few updates.

Driveshaft/Differential

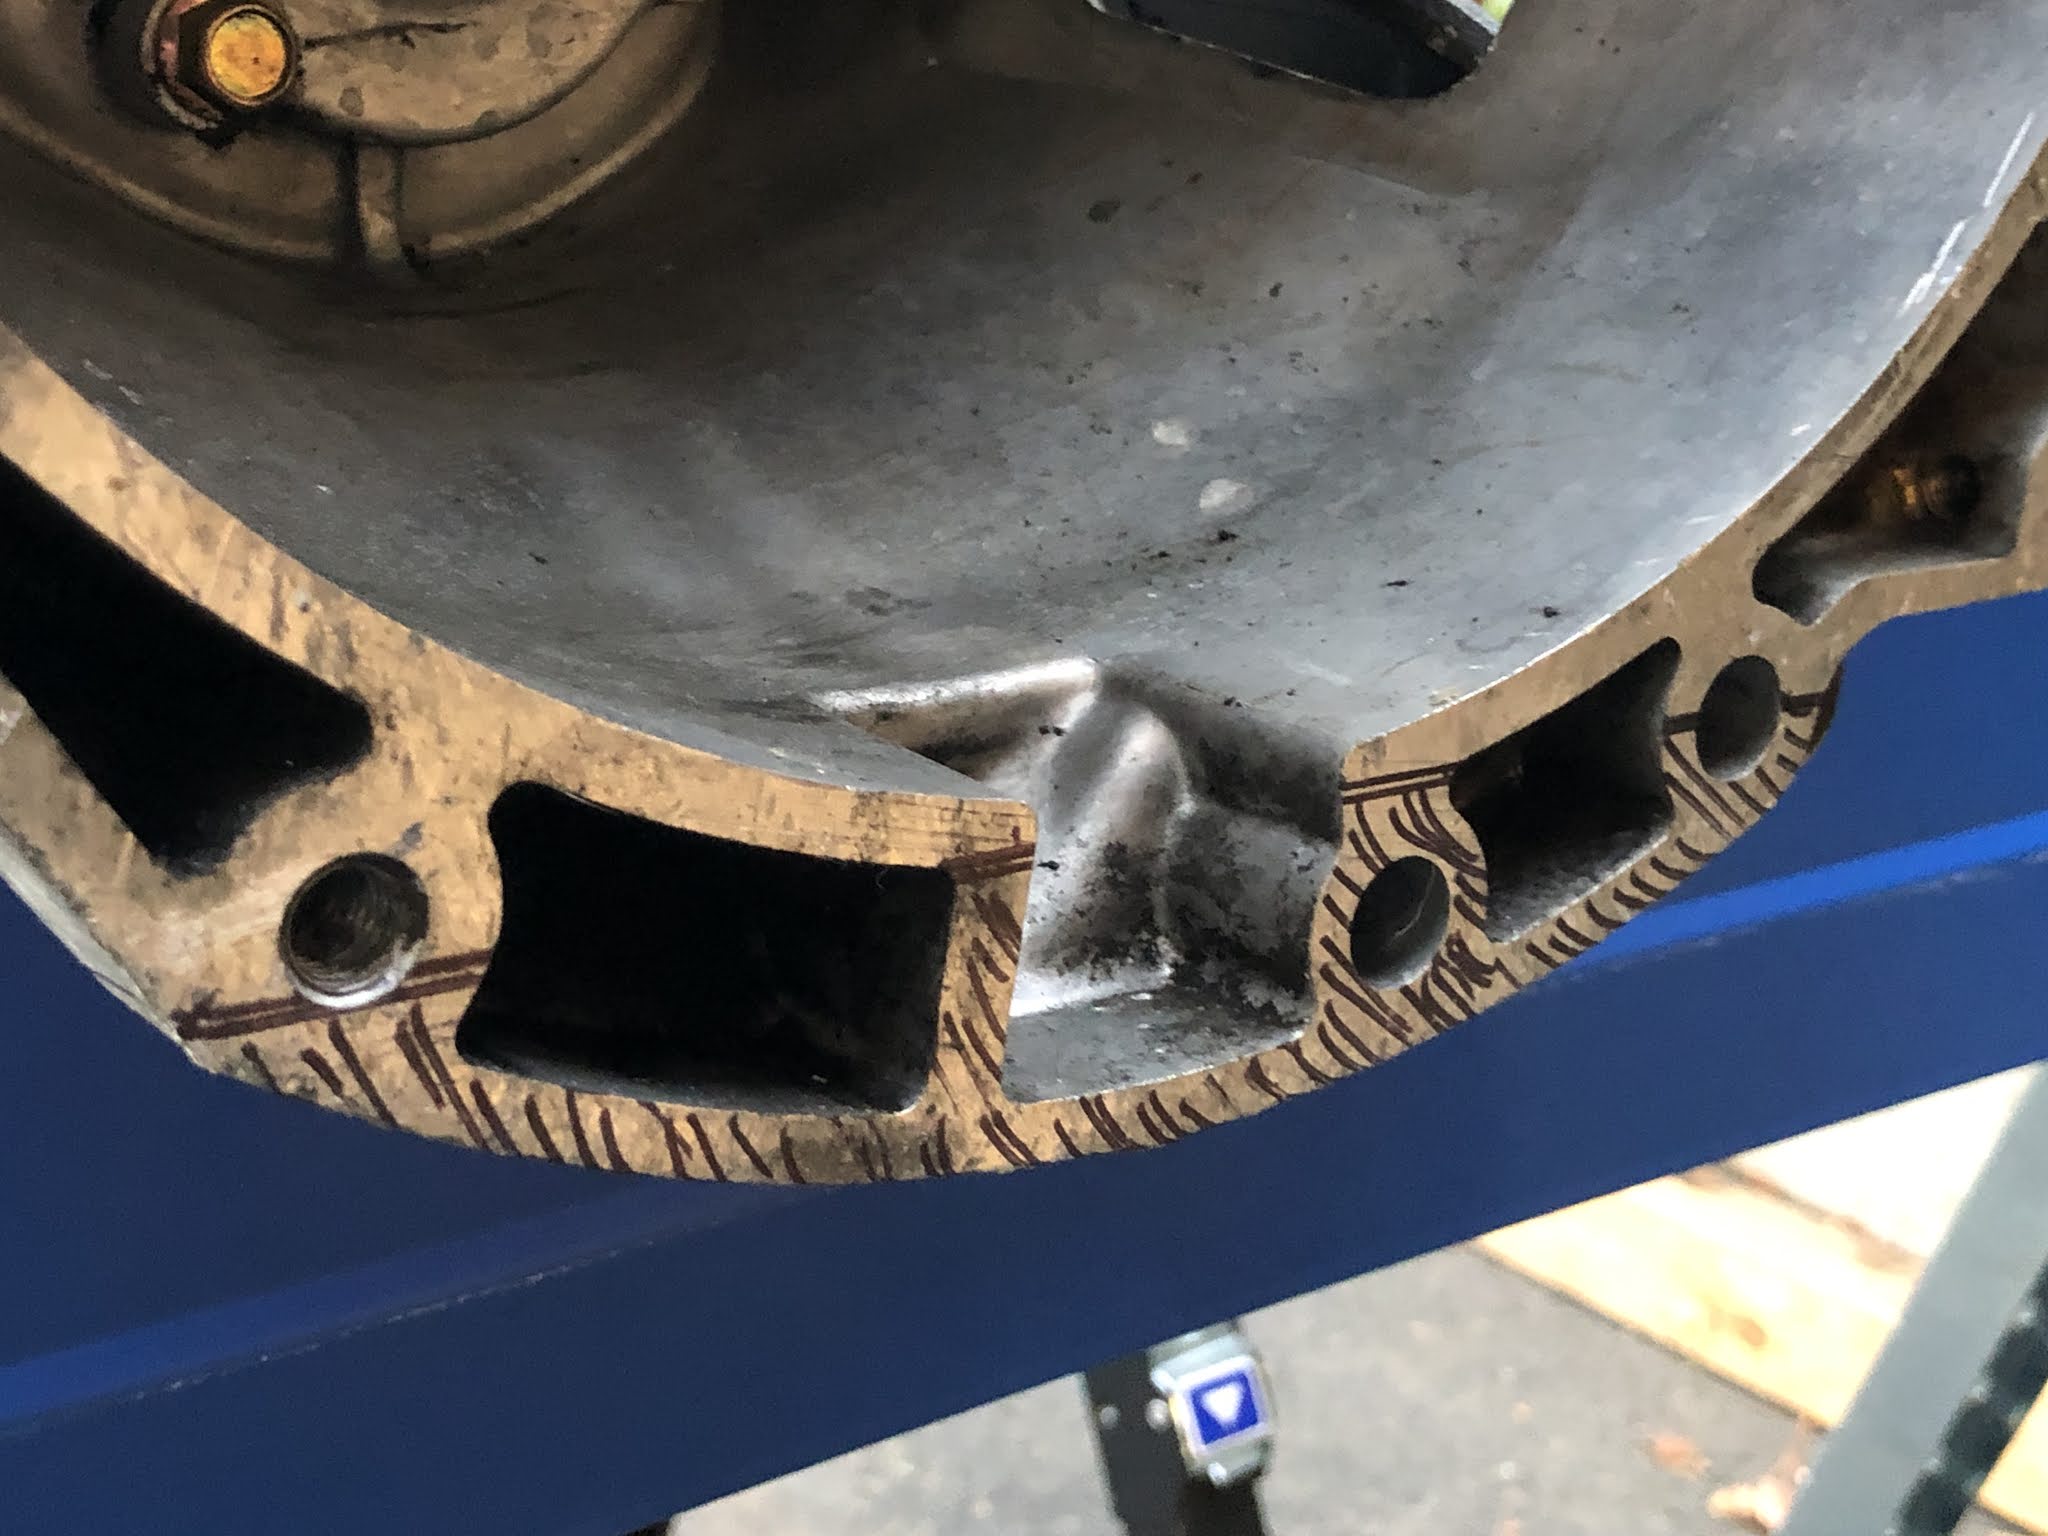
The drive shaft is installed and fits perfectly. Discovered that the bolt pattern on the diff flange isn't square, small pain in the ass. Unfortunately I'm going to have drop the diff at least once more to sort out some bushing issues.  Future me issue, though.

Short Shifter

The lower ball bushing provided by GBS is too big for the NC 5-speed transmission. Needs to be replaced with a slightly smaller bushing for 1990-2014 5-Speeds. I've ordered a new bronze bushing from 5X Racing...because why order a cheap-o plastic bushing when you get a trick machines bronze bushing instead?

When tightened down to the correct torque, the shifter ball binds up making shifting impossible. The difference between binding a moving smoothly is just a couple of lb/ft of torque on the screws. A compressible shim made of FelPro 3060 1/32" (.03125"/.79mm) fiber-rubber gasket material should fix that.

Windshield

Installed but I cracked the glass in the process, all of the local autoglass shops I've called have laid off their custom glass guys due to the downturn in business in the Virus Timeline. I'm punting this down the road to be a problem for FutureMe.

ITBS!

The Individual throttle bodies are are now permanently bolted to the car without any dramas. One of the header bolts is super short, I ordered a 50-pack of M8x1.25x12mm socket head screws from McMaster-Carr. It would have been really nice if GBS had machined the throttle body flange to accept the OEM Ford O-rings.

Part of fitting up the throttle bodies included plumbing up the high pressure fuel system. I found that, again, PastMe did me a solid by ordering a crap-ton of fuel injection clamps.  Go me!

Header Installation

I've gotten a little further on that test fitting the header, it's pretty much bolted to the car forever, now. PastMe did PresentMe a solid, preemptively ordering M10x1.5x22mm flange head bolts last month that thread into the head smoothly. I think the issues had was due to the aluminum coating on the bolts I'd done the test fit up with.


The silence is also now installed on the car. I needed to shorten the header's outlet pipe by about an inch to get the silencer to fit. There's a chance that I'll need to trim it up just a little more but for now it's good!

Engine Harness

Laying out the engine harness things pretty much line up where they should but there are some small issues to work out.


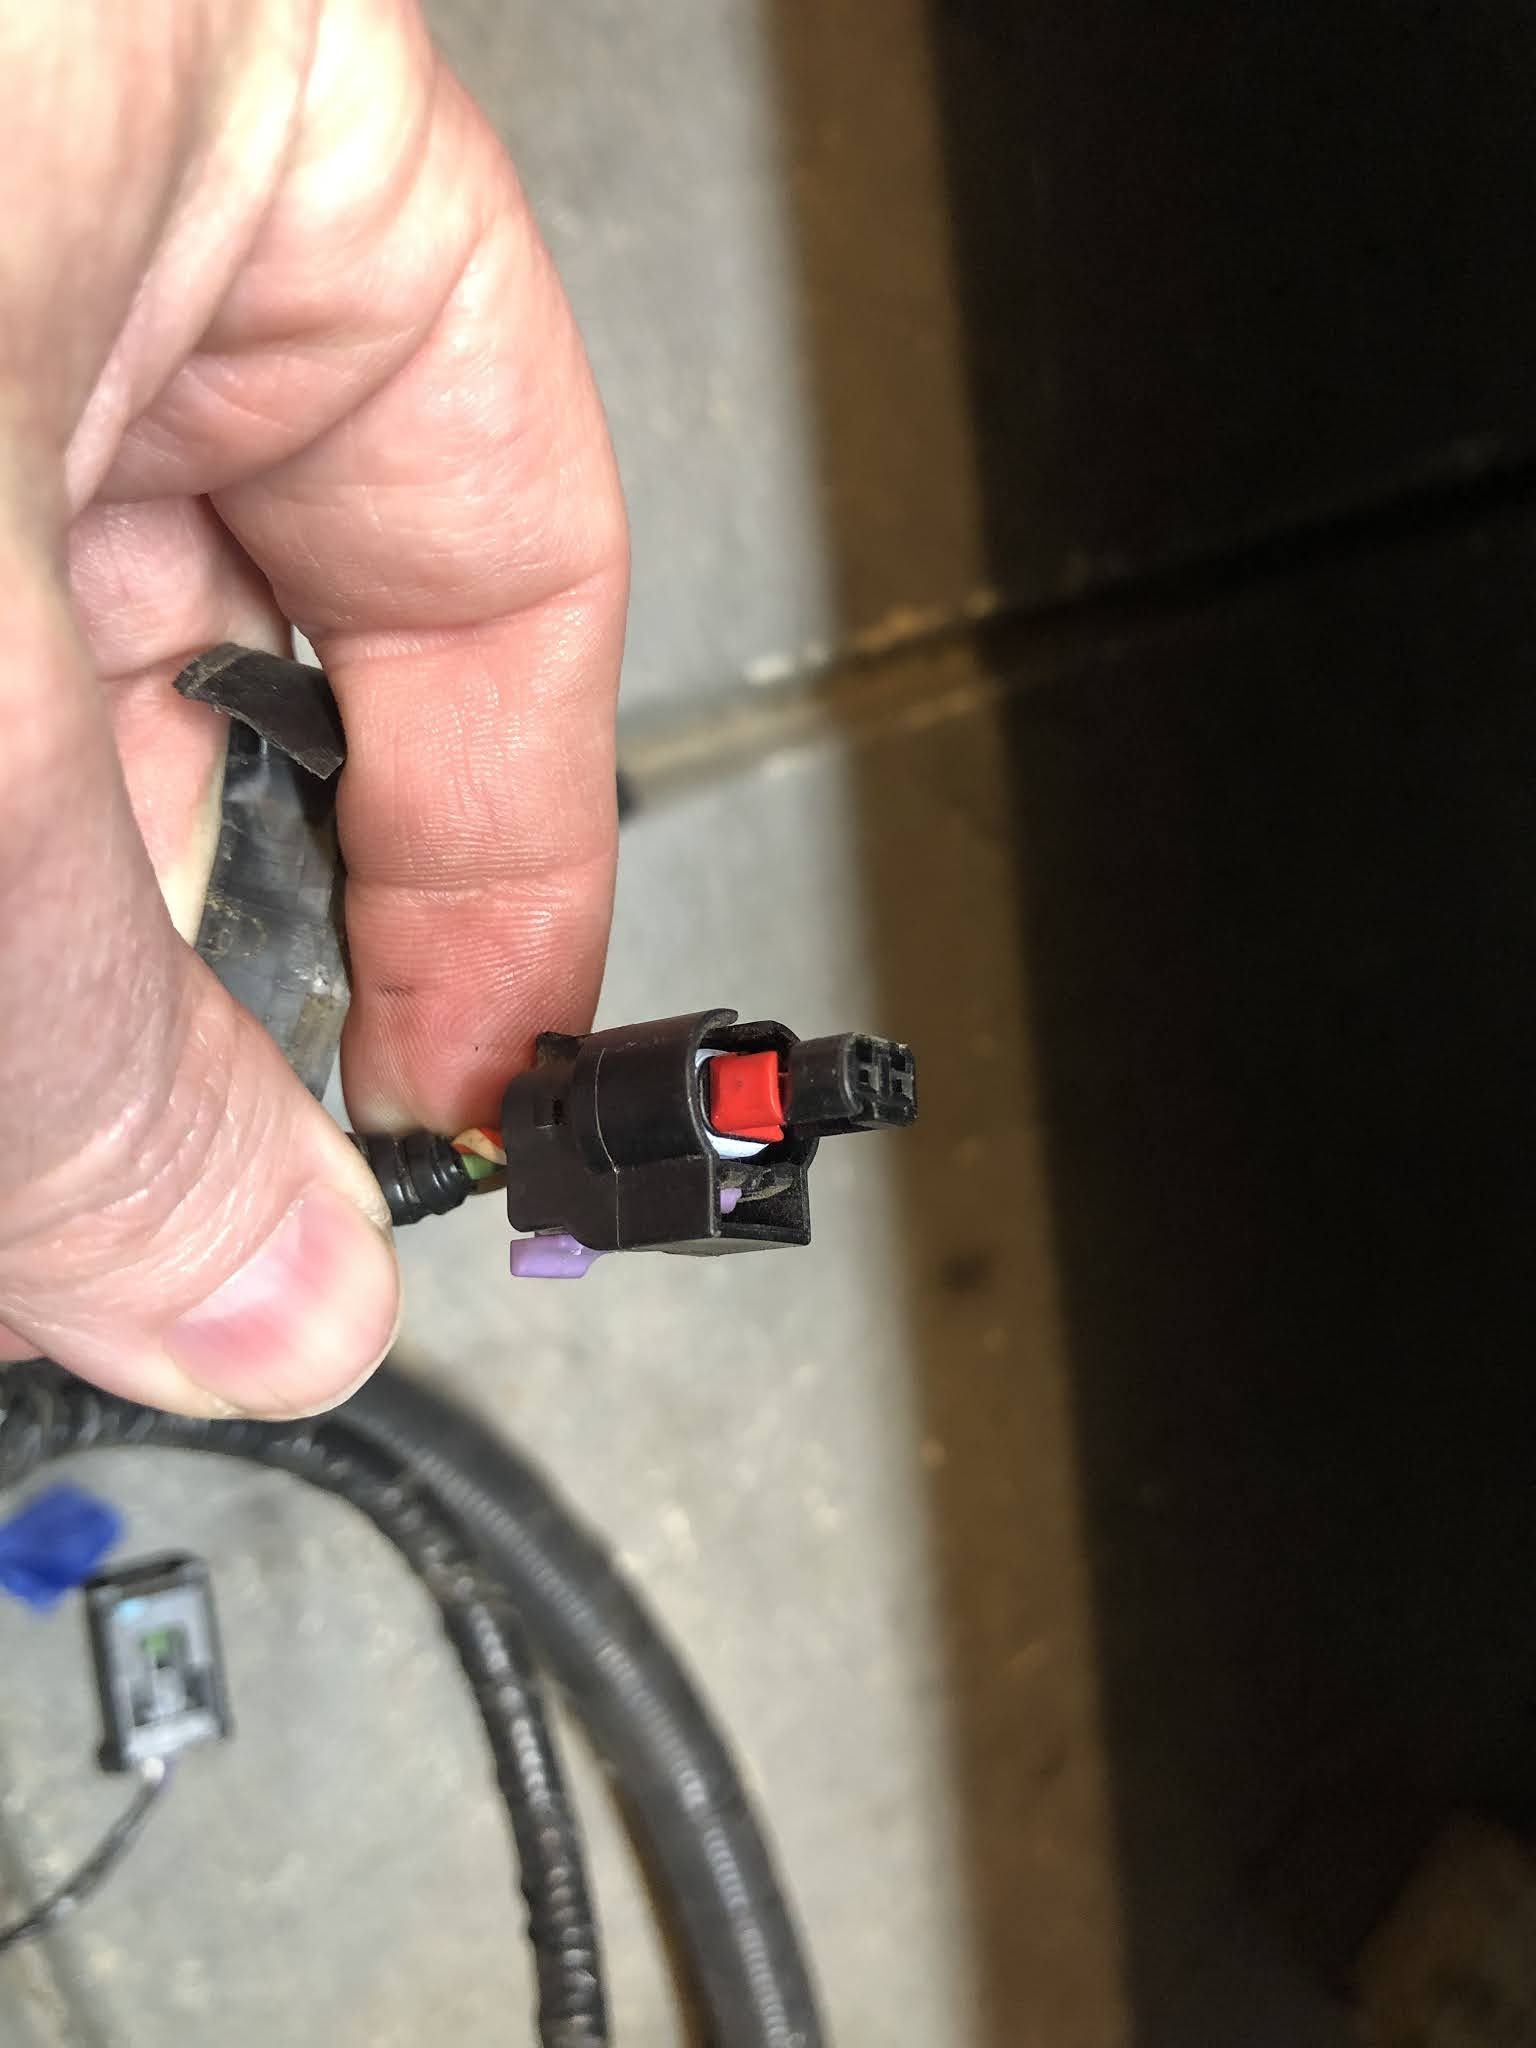
The 2.5L engine that I have came with a three-pin cam position sensor, the Emerald ECU and engine harness are setup for a two-pin sensor. Sourcing the correct sensor (DENSO 1966020) is the easy button fix. Snapped up the matching connector as well just to make sure I've got the correct harness connector for the sensor.


The harness also has a two-pin Deutch DTM connector for the VVT solenoid that's 100% incompatible with solenoid on my 2.5L. Fortunately I've kept the original engine harness so I'd have any odd-ball connectors on hand for situations just like this. I can either splice the OEM connector onto the Emerald/GBS harness or build a small patch harness.


Parts In Flight

There are a bunch of parts that are currently in flight for my build.

From GBS I'm still waiting for the left hand drive alternator bracket and parts, oil filler cap kit, and water pump inlet. All of these parts have been shipped but it took a ton of time for them to get here. It took a long time to get the bracket, GBS had to source ethical free-range aluminum from which to machine the part and then send it out to a small batch artisanal powder coater for finishing.

From Summit Racing I'm waiting on some SAE J30R7 hose, clamps, barbs, and sensors. The hose clamps and barbs are for the PCV/valve cover breather/catch can setup. The O2 sensor is just a generic heated four-wire unit that should place well with the Emerald K6 ECU.

Over on the Amazon side of the equation I'm waiting for some more hose and a couple of 12mm check valves. The hose is 8mm clear silicone tubing to plumb up the expansion tank. The check valves are are to splice in-line with valve cover breather.

Monday, November 30, 2020

Project-Zero: Cultch Hosed.

After fitting up the clutch slave cylinder (CSC) I found that the clutch hose included in my kit was incorrect. The CSC has an M10x1.0 banjo fitting, the Girling-style clutch master cylinder (CMC) included in my kit has an 3/8-24 fitting. The host that GBS sent me has an M10 banjo and M10 male threaded fitting.

I've ordered a replacement hose from Pegasus Racing:
  • Braided 40" 3AN hose
  • 3AN straight swivel fitting for the CMC side.
  • 3/8-24 to 3AN banjo for the CMC side
  • 90˚ M10 banjo fitting for the CSC side.
Yes, I could work with GBS to get the hose replaced with the correct piece but I don't want to wait a month to get it.

Monday, November 23, 2020

Project-Zero: Header installed.

The engine is now more-or-less in.  Had to pull it out to clearance the transmission case a little more. With the help of a friend the job went surprisingly quickly.  After we had the engine back in, we threw the header on the car just makes sure the engine was sitting in a sweet spot.

Notes on the header: The 2.5L Duratec uses M10x1.50 studs/bolts for the exhaust manifold. Due to corrosion or residue from thread locker the threads might be a bit too tight to hand thread bolts in very far. I found that if I used a wrench, went slow, and used feel to know when to back off things generally be alright.

Ideally the head should be installed with studs.

I'll have a longer post about my thoughts on Duratec installation in a left hand drive GBS Zero chassis soon.


Sunday, November 15, 2020

Project-Zero: Oil pan fittings.

The oil pan has several ports in it, three (3) M12x1.5 ports and one (1) 1/8-27 NPT.

Two of the M12 ports are in the lower, front portion of the pan on the left and right as drain plugs.  The last of the M12 ports at the upper side of the left side of the pan for a dipstick tube.  The 1/8-27 port is near the bottom of the pan below the dipstick tube.

Due to clearance issues, I’m going to use the right-side M12 as the primary drain-plug for the car.  I’ve put plugs in the remaining two M12 ports. (My Duratec has its dipstick tube located through the head/valve cover.) I’ve also installed a plug in the 1/8-27 port since the clearance there is too tight for a temperature sensor.

Project-Zero: Engine fitment issues.

 After installing the engine into the car, I’ve attempted to fit the alternator with the mounting kit supplied by GBS but ran into the usual snag that I was shipped the wrong parts for my application.

To make a long story short in two bullet points:

  • GBS shipped me an alternator kit for a right hand drive Zero Roadster, my Zero Roadster is left hand drive.
  • The RHD mounting kit places the alternator EXACTLY where the steering shaft for the LHD zero runs from the column to the steering rack.
I’ve emailed GBS about the issue, hopefully they’ll help me correct the issue quickly. (i.e. ship me the correct alternator mounting kit ASAP.)

Project-Zero: Further transmission mods required

After installing the engine/transmission I found that one of the flanges I'd had to cut off the transmission case hadn't been trimmed enough.  In the photo below you can see where it is contacting the chassis.


It took a week to wrangle up the help of a friend to pull whole package back out and grind out some clearance.

GBS don't really provide any kind of template for just how much you need to remove/grind away from the transmission case for fitment.


Friday, November 13, 2020

Project-Zero: Transmission Mods

 To stuff the engine and transmission package into the GBS some trimming needs to happen.  Specifically, few mounting tabs and part of the bell housing have to go away.  This is particular to the Ford Duratec to NC Miata/MX-5 gear boxes.

On stock cars with stock oil pans the lower bell housing bolts thread into the pan. When using a low-profile sump the lip of the bell housing extends lower than the oil sump by about an inch and a half.  Best just to trim it off rather than catch a rock or a curb

This is a view of my friend’s transmission without the bell housing trim.

The job is pretty straight forward, you just need to slice it off clean across the bottom just under the wall of the bell housing where it spiders out into webbing for the bell housing’s flange.  A straight edge works great, a sharpie is good for marking out what you want to cut vs what you souls to cut.  Then it’s just a matter of going at it in bits and pieces with an angle grinder.  It took a bit of work and swearing to make it happen but it happened.