Showing posts with label Oil. Show all posts

Friday, August 12, 2022

Project-Zero: Blackstone Report 1.

 Got the lab results back from Blackstone and...uh...well...This will be fun.

With about one year and 600 miles on the engine since installation. (~46K miles on the engine in total)

In the universal averages column you'll find how this type of Ford usually looks in analysis after about 7,200 miles of oil use. Those averages include a lot of engines that just see daily street driving. We're thinking this engine, used in a GBS Zero, is probably going to develop a different wear pattern, possibly with more metal as the norm. We'll be interested to see how trends build. As it stands, metals are higher than average overall, but if they improve or at least stabilize, we wouldn't worry. Silicon may show dirt, unless recent repairs could mean it's sealer.

So that's kind of an ominous sounds thing...

Saturday, May 15, 2021

Project-Zero: Fluids are filled.

 It's been a bit of time since I've made an update here and it's time to do some brain dumping, starting with some fluids.

The car is now presently full of fluids. Let's talk about them.

  • Engine Oil
    • Motorcraft 5W-20 full synthetic - No point in using anything more exotic, special, or expensive on the car right now.
  • Transmission fluid
    • Redline MTL Gear Oil - 75W-80 GL-4 gear oil, pretty much the only thing that I use in my Miata transmissions.
  • Gear Oil
    • Royal Purple Max Gear - 75w-90. I needed 75W-90 for the differential and this is what Winchester Auto had in stock. I would have preferred Redline but in a pandemic, beggars can't be choosers.
  • Coolant
    • Distilled Water & [water wetter] - I live in California, there's no real need to run anti-freeze.  Distilled water and some anti-corrosive additives are good.
  • Brake Fluid
    • Generic DOT-4 - Again, nothing special right now.  High enough temp resistance and fairly inexpensive.  I really don't like the idea of leaking Ate or Motul all over the garage while hunting down leaks.  I can bleed it all out later, if needed.

Monday, March 1, 2021

Project-Zero: Oil Pressure Switch Problems

I have learned through trial and error that the oil pressure switch use in the Ford Fusion that my engine came from is not compatible with the way that the GBS us wired up.

UPDATE: I chose Solution 1 however that introduced another issue that required me to swap out the switch connector housing. Making a long story short, you want a WVE Vehicle Electronics 1P1883 connector pig-tail kit. De-pin/swap connectors or cut and splice, whichever method floats your boat. (I de-pinned 'cause that's how I roll.)

The Problem

The Ford switch from the fusion is wired to be normally open, meaning that when it sees no oil pressure the switch is open and the GBS Zero's indicator light will be off. When there is oil pressure the switch will close and illuminate the warning light. Neither of the conditions is desirable.

The Solution

Find an oil pressure switch thats normally closed. I present three options here.

  1. Standard Motor Products PS299 - Inexpensive, should fit in the ATR oil filter housing without needing to us any adapters, appears to have the same dimensions as the Ford Fusion's pressure sensor, just NC instead of NO. Yay!
  2. MOTORCRAFT SW5029 - Inexpensive, used in millions of Ford cars. Should fit in the ATR oil filter housing.
  3. ACDelco 8020 - Opens at 5psi, inexpensive, used on millions of cars since the 1960's. Doesn't fit in the ATR oil filter housing because hexagonal body is just a bit too large. You would need to mount this in a remote location.

Thursday, February 25, 2021

Project-Zero: Oiling System

I've gone back and forth on the cooling system on my car for a bit but I've come up with a solution that I like and am presently implementing.


The Problem:

The location of the engine and oil filter in the engine bay of a GBS Zero with a Ford Duratec engine sucks. A lot.  The filter sits on its side over an area where it will make an unholy mess when it's time to change the oil filter.  The problem is even worse if you're running with GBS' supplied oil cooler kit.

Exhibit A:


(The oil filter hangs out over a fuel line and some of the body work that would love to collect and trap some oil dripping out of the filter when it gets removed.)

The Solution:

The easy to say answer is "Install a remote oil filter mount." On the Generation 2 chassis, that's not as easy as it seems but I've managed to make it work out. The only down side of my solution to this problem is that I lose the oil thermostat so it will take a little longer for the care to come up to full temperature. Not much of a problem, to be completely honest.

  • Location - In a Generation 2 GBS Zero chassis locations for a remote mount oil filter are limited. In my car, the best place is beside the battery on the passenger's side.
  • Remote Oil Filter Mount - I sourced a used CV Products remote oil filter mount from Ebay. (-10AN inlet/outlet ports, 1/8 npt port (post filter), 3/4-16 oil filter nipple) This mount features angled inlets ports opposite from each other and outlet on top.
  • Oil Filter Takeoff/Bypass - I am using the oil cooler takeoff sandwich provided by GBS and a filter bypass plate from Torques.co.uk. (Purchased on Ebay) In the future I might change to one of Mountune's oil takeoff plates but this setup should work for now.
  • Mounting Bracket - I built a simple, robust mount out of 1.25" (.125" thick) angle iron. It mounts to the chassis rail with some M6 rivnuts. (See the video.)

Exhibit B:


Foot Notes:

1. The reason that I have to lose the thermostat is that with the thermostat in place, unfiltered oil would be circulated through the engine until it gets to 180˚f and the thermostat closes. No bueno.

Tuesday, February 23, 2021

Project-Zero: Direct Fit Oil Filter Cross Reference

The following is a table of oil filters that should be direct fit swaps for my Zero. 

For future reference, the Motorcraft FL910S is about an inch longer than the supplied BluePrint  oil filter, I'll probably just use those going forward for that touch extra capacity.

Direct Fit (Per Rock Auto)Extra NotationsNotes
Ford/MotorcraftFL910S
WIX51348XP
Fram3614XG/FS/FF/TG/PH
K&Nhp-1002
Bosch3330
Denso1502010
MazdaLF0514302A
MazdaLF0514302B

Wednesday, February 10, 2021

Project-Zero: Oil Pressure Sensor Wiring

AIM do make a 0-150PSI pressure sensor with an integrated Binder 719 connector, it's expensive. I have several spare functionally identical Packard/Delphi sensors laying around from past projects and a small handful of 719 connectors. The preference is to use what I have on hand that sets me up for less expensive replacement costs in the future, should the sensor crap itself. (Pressure transducers are a little delicate, they don't like a lot of heat and vibrations.)

This is the wiring/soldering game plan to connect up the “generic” Packard sensors to the AIM MSX dash that I’m using. Nothing too special, just a distillation of information from a couple of different sources to help keep me from jacking things up too bad. 


The Binder 719’s on the the MXS’s harness are of the 4-pin variety.  When looking at them from solder termination side, index tab pointed upward, the pins can be read as:

719 Male - From solder termination side

  1. Upper Right - Analog Signal
  2. Lower Right - Sensor Ground
  3. Lower Left - +12V (Battery)
  4. Upper Left - +5v (Sensor Vref)
719 Female - From solder termination side
  1. Upper Left - Analog Signal
  2. Lower Left - Sensor Ground
  3. Lower Right - +12v (Battery)
  4. Upper Right - +5v (Sensor Vref)
Packard/Delphi 3-pin Transducer - Looking at the pins on the sensor side
  1. Lower Center - Analog Signal
  2. Upper Right - +5v (Sensor Vref)
  3. Upper Left - Sensor Ground
Connecting up the +12V pin on the Binder connectors is no bueno.

Friday, November 6, 2020

Project-Zero: Oil pickup tube install

 Been a while Stuff has happened.

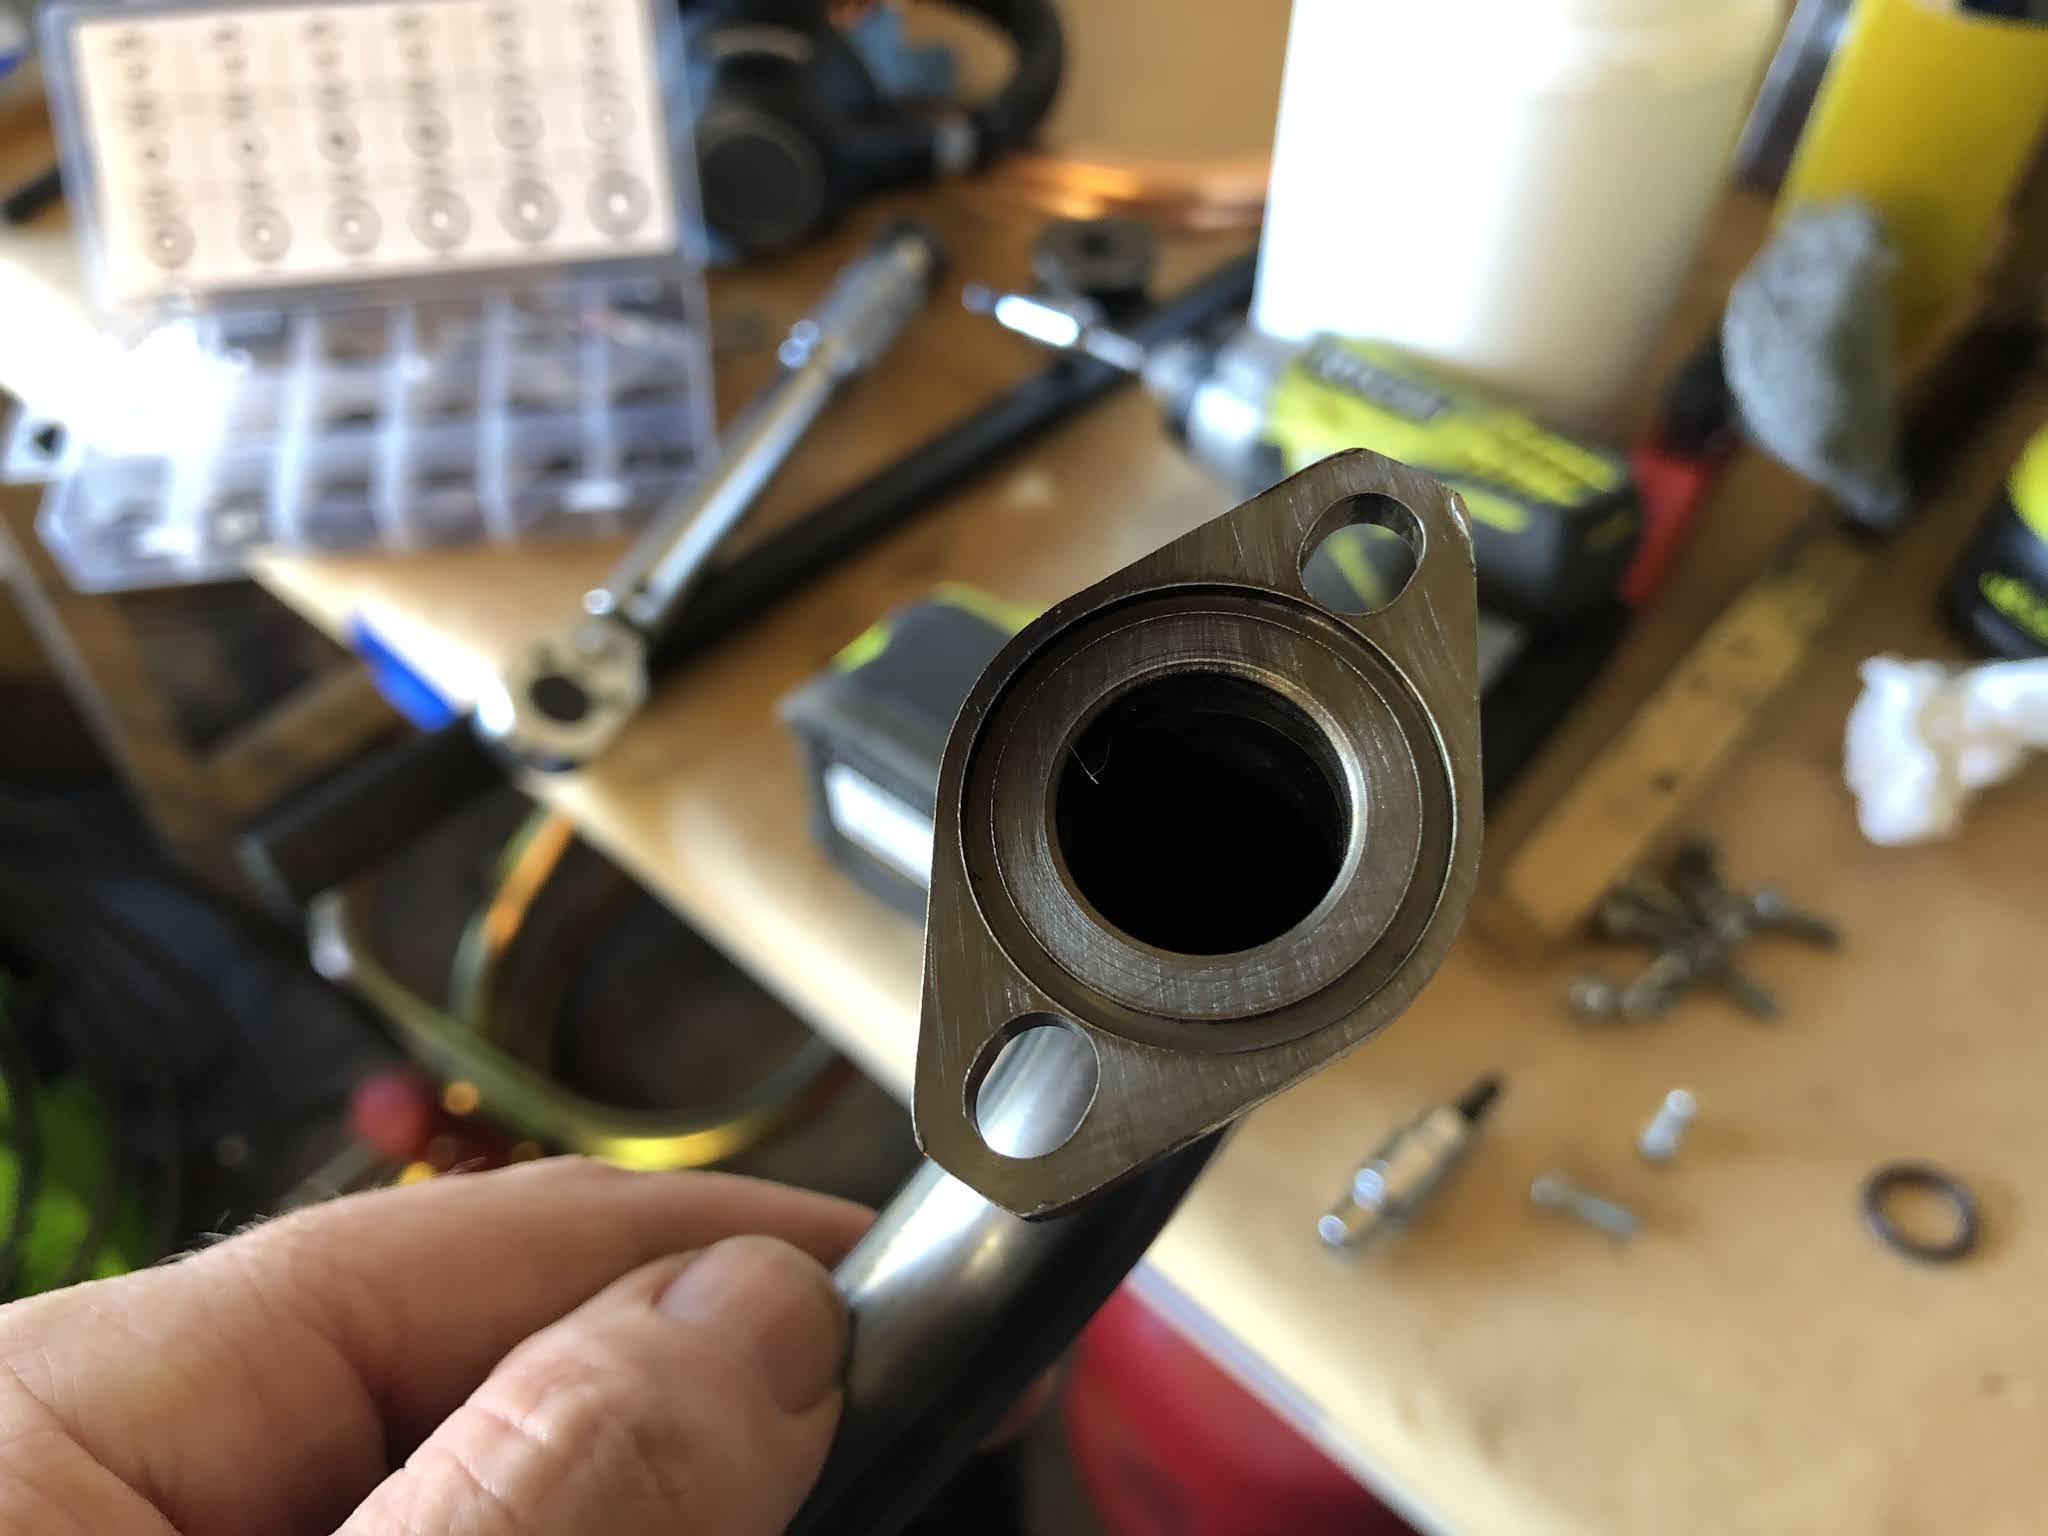
GBS shipped me a now oil pickup, it arrived this week after what felt like an eternity so that’s now installed. The oil pain and oil filter housing are also now installed on the engine.

The pickup requires an o-ring seal, the original Ford o-ring seal does not fit in this application. (GBS machine the mating flanges, they could make it use the Ford o-ring if they wanted.) I think the most correct size is a Dash 022 o-ring but in a pinch a 1.0625” inside diameter ring will also work.

Cap screws get a dab of blue thread locker to make sure they don’t back out  and are torqued to as close to spec as possible.


The pan and oil filter housing go back onto the engine after cleaning up the mating surfaces. Carefully scraped them down with a razor blade, then wiped them with acetone. Black RTV applied per the tube instructions to seal the pan  and filter housing. Final torque per Ford Fusion Haynes manual.