Showing posts with label engine. Show all posts

Tuesday, October 20, 2020

Project-Zero: 2.5L Duratec balance shaft delete

Why do this?

  1. The ATR low profile oil sump won't fit on the engine with balance shaft assembly in place.
  2. The balance shaft assembly weighs 20lbs, removing it saves on over all weight and removes rotating mass allowing the engine to rev higher, faster.
  3. You might get a few horsepower back without the parasitic drag induced by balance shaft assembly.

Will this hurt the engine or lead to premature wear?

No.

What parts do you need?

You need a balance shaft delete kit.  In no particular order, pick your poison--they all work the same way.

How do you do it?

Removal is straight forward. Remove the oil pain to gain access to the balance shaft assembly. Four bolts hold the balance shaft to the bottom of the engine where it engages with the crankshaft via a large sprocket.  Wind out the four large bolts and the unit lifts out of place easily.


After removal, the oil galley that feeds high pressure oil to the balance shaft must be plugged using a delete kit.  Delete kits are inexpensive and available from a couple of different suppliers.

Kit installation is the same for all of them.
  • Lube the plug o-ring, then stick the plug in the oil galley.
  • Apply red loctite to the retaining bolt, install bolt and torque to spec. (18 lb/ft)


Reinstall the oil pan per factory service manual procedure.

Notes

  • I went with the Massive Speed Systems kit because I was also buying their lightweight under-drive water pump pulley anyway.
  • Don't be a dumbass like me, I didn't have the necessary oil pick-up tube handy to install the new ATR oil pan. Now I have to wait for parts for to be shipped back to me.


Thursday, October 15, 2020

Project-Zero: Update on some small jobs

  • Parking Brake Cable Routing - Having taken a look at some of the photos from Richard's build, I now have a better idea of how the parking brake cables are supposed to be fitted into the chassis bracket.  This will be a quick and easy job.
  • Paint the swirl pot hard line - Unnecessary but a small touch that’s easy do now before the car is wet with fluids. Painting it is really just a aesthetic thing since I’ve also painted the swirl pot gloss black.
    • Quick and dirty operation, scrubbed down with steel wool, sprayed with one coat each of primer (heavy), base gloss black (medium), and gloss clear coat. (Heavy). No need to do multiple coats of each on this part.  Once it’s had a day or two to cure I’ll jam it back into place and clamp it in.


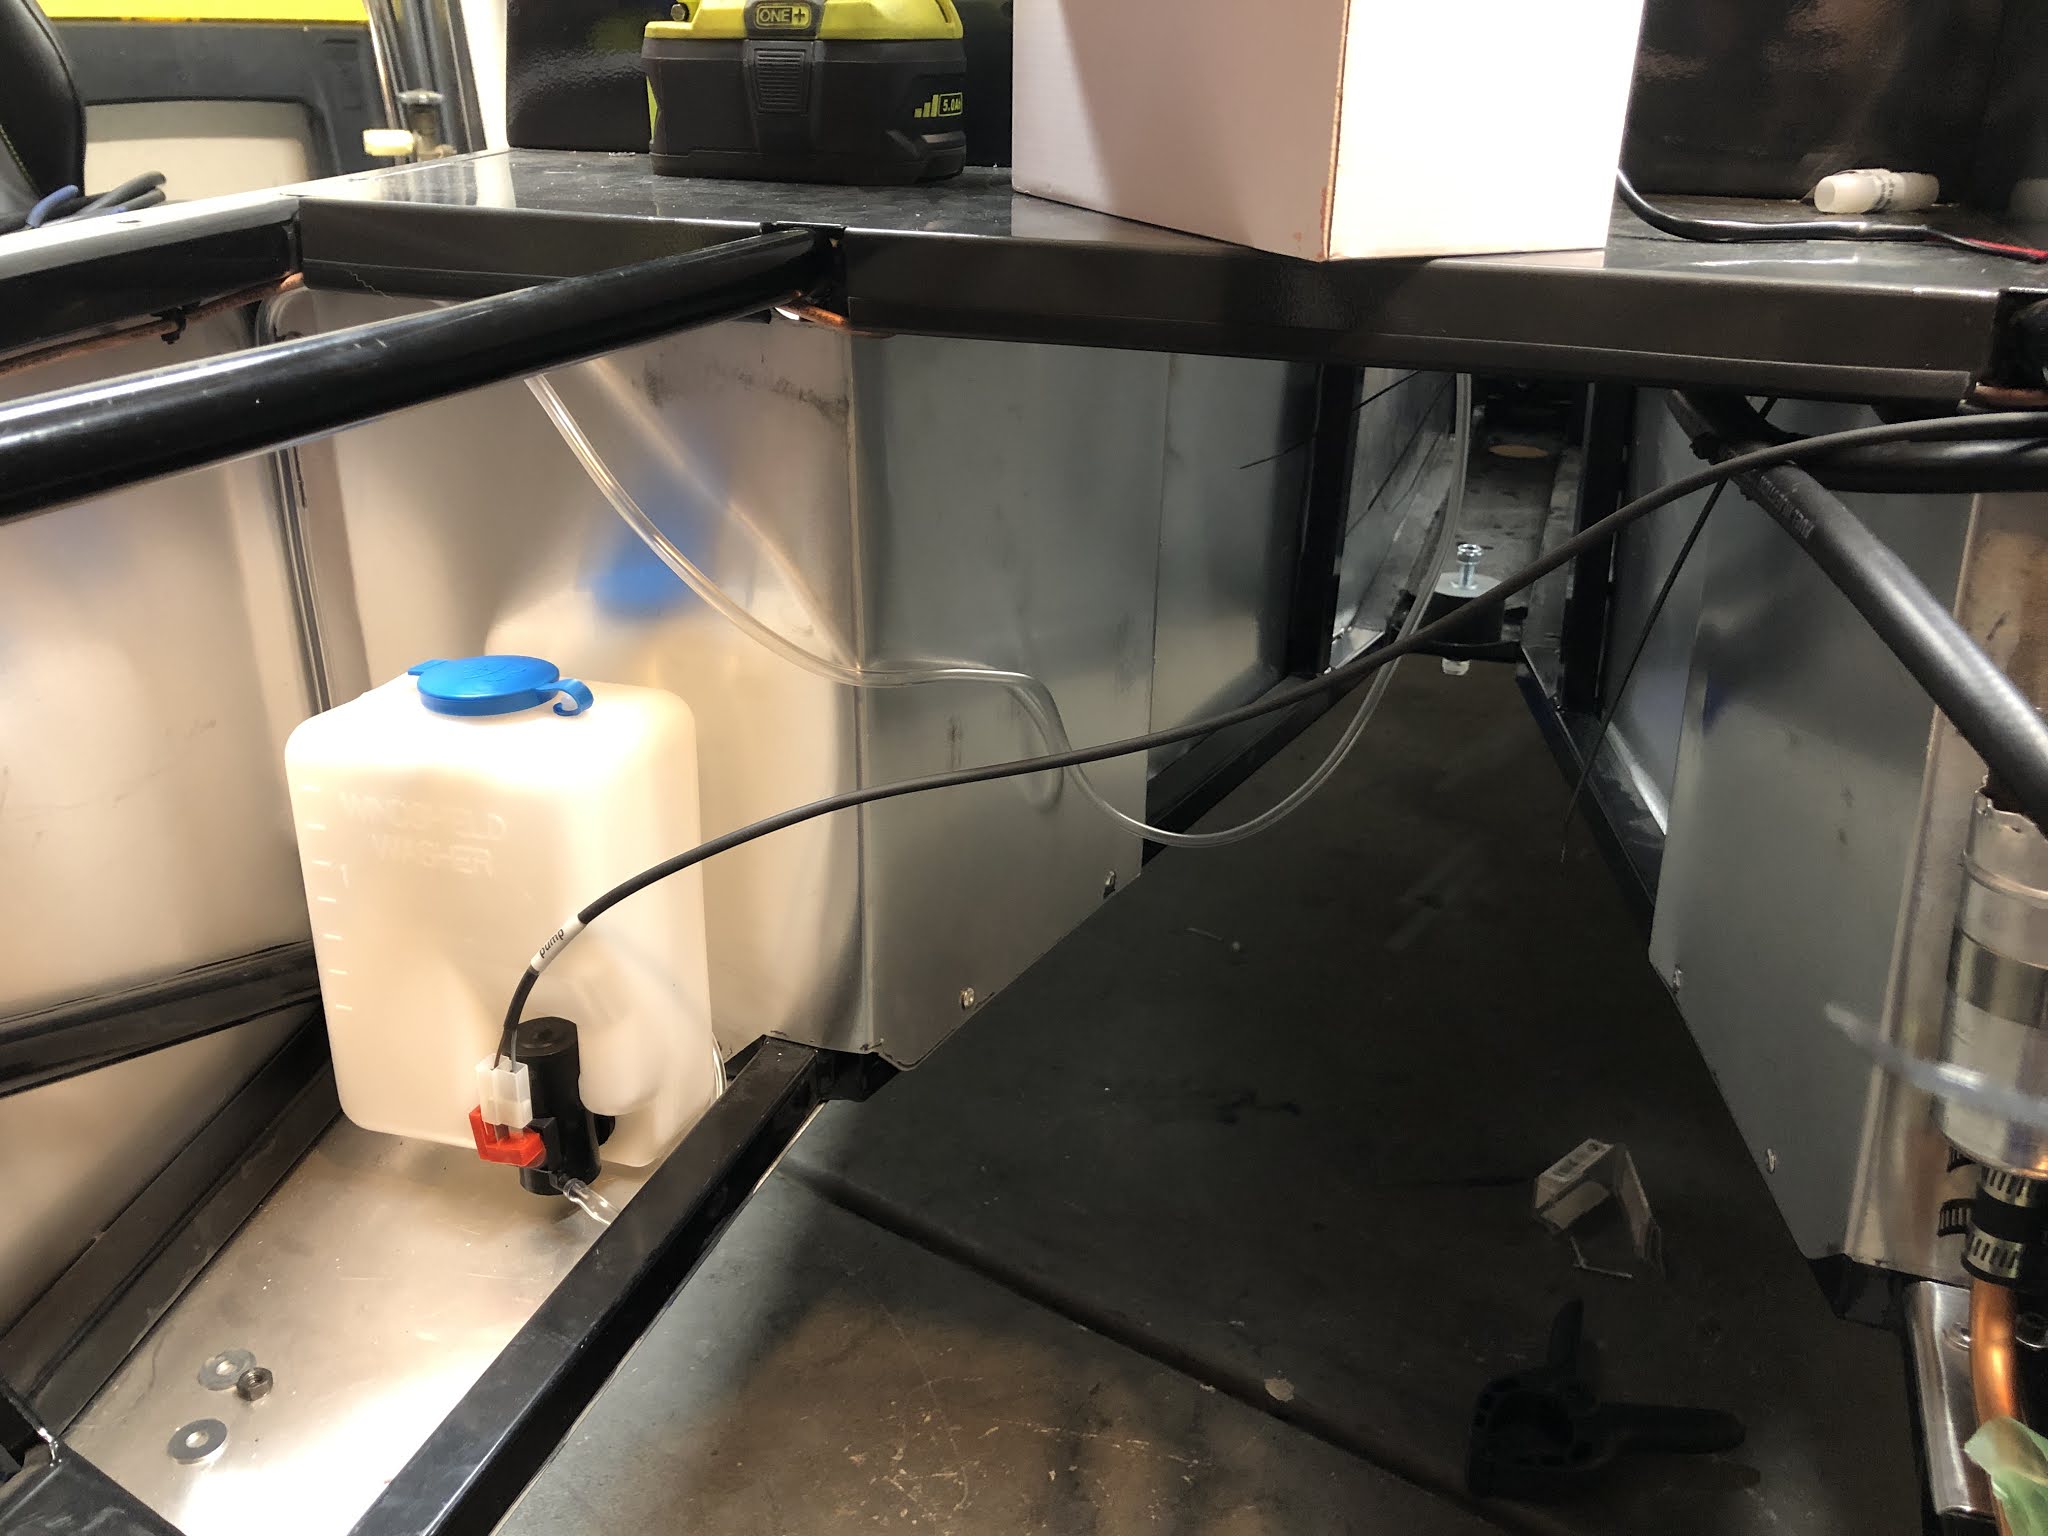
  • Washer Reservoir - Having taken a look at some of the photos from Richard's build, I now have a better idea of where the washer bottle is supposed to be mounted.
    • Fixed with M8 rivnuts and cap-head screws. This is overkill but it is what it is. The car was drill with 7/16" holes for the bottle mount.
    • The washer harness will need to be extended, the harness is configured for right-hand-drive but this is a left hand drive car.


  • Los Honry Boy - Having taken a loot at some of the photos from Richard's build, I have new ideas about where I might be able to install the horn that's mostly out of the way.
    • There’s a lot of dead space between the radiator and the front of the engine, I decided to mount the horn off one of the steering rack brackets.


  • Give em' the clamps - I need to acquire more worm clamps of the correct sizes to finish up the high pressure fuel pump hard line installation.
    • Notes: I picked up some slight too large camps from OSH, they will work alright.
  • Tighten up the transmission mount bushing - I really don't need to put more explanation into this.
    • Notes:
      • Tighten to M10 Class 8.8 w/ thread locker torque spec
  • Route the electrical loom at the back of the car - This should probably go from the right side of the car to the left.
  • Dig Out the Transmission and 2.5L engine - We're getting to that point. I should start working on these. First task, pull them out of the corner of the garage and clean them up.