Monday, November 30, 2020

Project-Zero: Cultch Hosed.

After fitting up the clutch slave cylinder (CSC) I found that the clutch hose included in my kit was incorrect. The CSC has an M10x1.0 banjo fitting, the Girling-style clutch master cylinder (CMC) included in my kit has an 3/8-24 fitting. The host that GBS sent me has an M10 banjo and M10 male threaded fitting.

I've ordered a replacement hose from Pegasus Racing:
  • Braided 40" 3AN hose
  • 3AN straight swivel fitting for the CMC side.
  • 3/8-24 to 3AN banjo for the CMC side
  • 90˚ M10 banjo fitting for the CSC side.
Yes, I could work with GBS to get the hose replaced with the correct piece but I don't want to wait a month to get it.

Monday, November 23, 2020

Project-Zero: Header installed.

The engine is now more-or-less in.  Had to pull it out to clearance the transmission case a little more. With the help of a friend the job went surprisingly quickly.  After we had the engine back in, we threw the header on the car just makes sure the engine was sitting in a sweet spot.

Notes on the header: The 2.5L Duratec uses M10x1.50 studs/bolts for the exhaust manifold. Due to corrosion or residue from thread locker the threads might be a bit too tight to hand thread bolts in very far. I found that if I used a wrench, went slow, and used feel to know when to back off things generally be alright.

Ideally the head should be installed with studs.

I'll have a longer post about my thoughts on Duratec installation in a left hand drive GBS Zero chassis soon.


Sunday, November 15, 2020

Project-Zero: Oil pan fittings.

The oil pan has several ports in it, three (3) M12x1.5 ports and one (1) 1/8-27 NPT.

Two of the M12 ports are in the lower, front portion of the pan on the left and right as drain plugs.  The last of the M12 ports at the upper side of the left side of the pan for a dipstick tube.  The 1/8-27 port is near the bottom of the pan below the dipstick tube.

Due to clearance issues, I’m going to use the right-side M12 as the primary drain-plug for the car.  I’ve put plugs in the remaining two M12 ports. (My Duratec has its dipstick tube located through the head/valve cover.) I’ve also installed a plug in the 1/8-27 port since the clearance there is too tight for a temperature sensor.

Project-Zero: Engine fitment issues.

 After installing the engine into the car, I’ve attempted to fit the alternator with the mounting kit supplied by GBS but ran into the usual snag that I was shipped the wrong parts for my application.

To make a long story short in two bullet points:

  • GBS shipped me an alternator kit for a right hand drive Zero Roadster, my Zero Roadster is left hand drive.
  • The RHD mounting kit places the alternator EXACTLY where the steering shaft for the LHD zero runs from the column to the steering rack.
I’ve emailed GBS about the issue, hopefully they’ll help me correct the issue quickly. (i.e. ship me the correct alternator mounting kit ASAP.)

Project-Zero: Further transmission mods required

After installing the engine/transmission I found that one of the flanges I'd had to cut off the transmission case hadn't been trimmed enough.  In the photo below you can see where it is contacting the chassis.


It took a week to wrangle up the help of a friend to pull whole package back out and grind out some clearance.

GBS don't really provide any kind of template for just how much you need to remove/grind away from the transmission case for fitment.


Friday, November 13, 2020

Project-Zero: Transmission Mods

 To stuff the engine and transmission package into the GBS some trimming needs to happen.  Specifically, few mounting tabs and part of the bell housing have to go away.  This is particular to the Ford Duratec to NC Miata/MX-5 gear boxes.

On stock cars with stock oil pans the lower bell housing bolts thread into the pan. When using a low-profile sump the lip of the bell housing extends lower than the oil sump by about an inch and a half.  Best just to trim it off rather than catch a rock or a curb

This is a view of my friend’s transmission without the bell housing trim.

The job is pretty straight forward, you just need to slice it off clean across the bottom just under the wall of the bell housing where it spiders out into webbing for the bell housing’s flange.  A straight edge works great, a sharpie is good for marking out what you want to cut vs what you souls to cut.  Then it’s just a matter of going at it in bits and pieces with an angle grinder.  It took a bit of work and swearing to make it happen but it happened.


Wednesday, November 11, 2020

Project-Zero: Flywheel and clutch installation

 This evening after work I knocked out installation of the flywheel, clutch, and starter motor.

Clutch and Flywheel

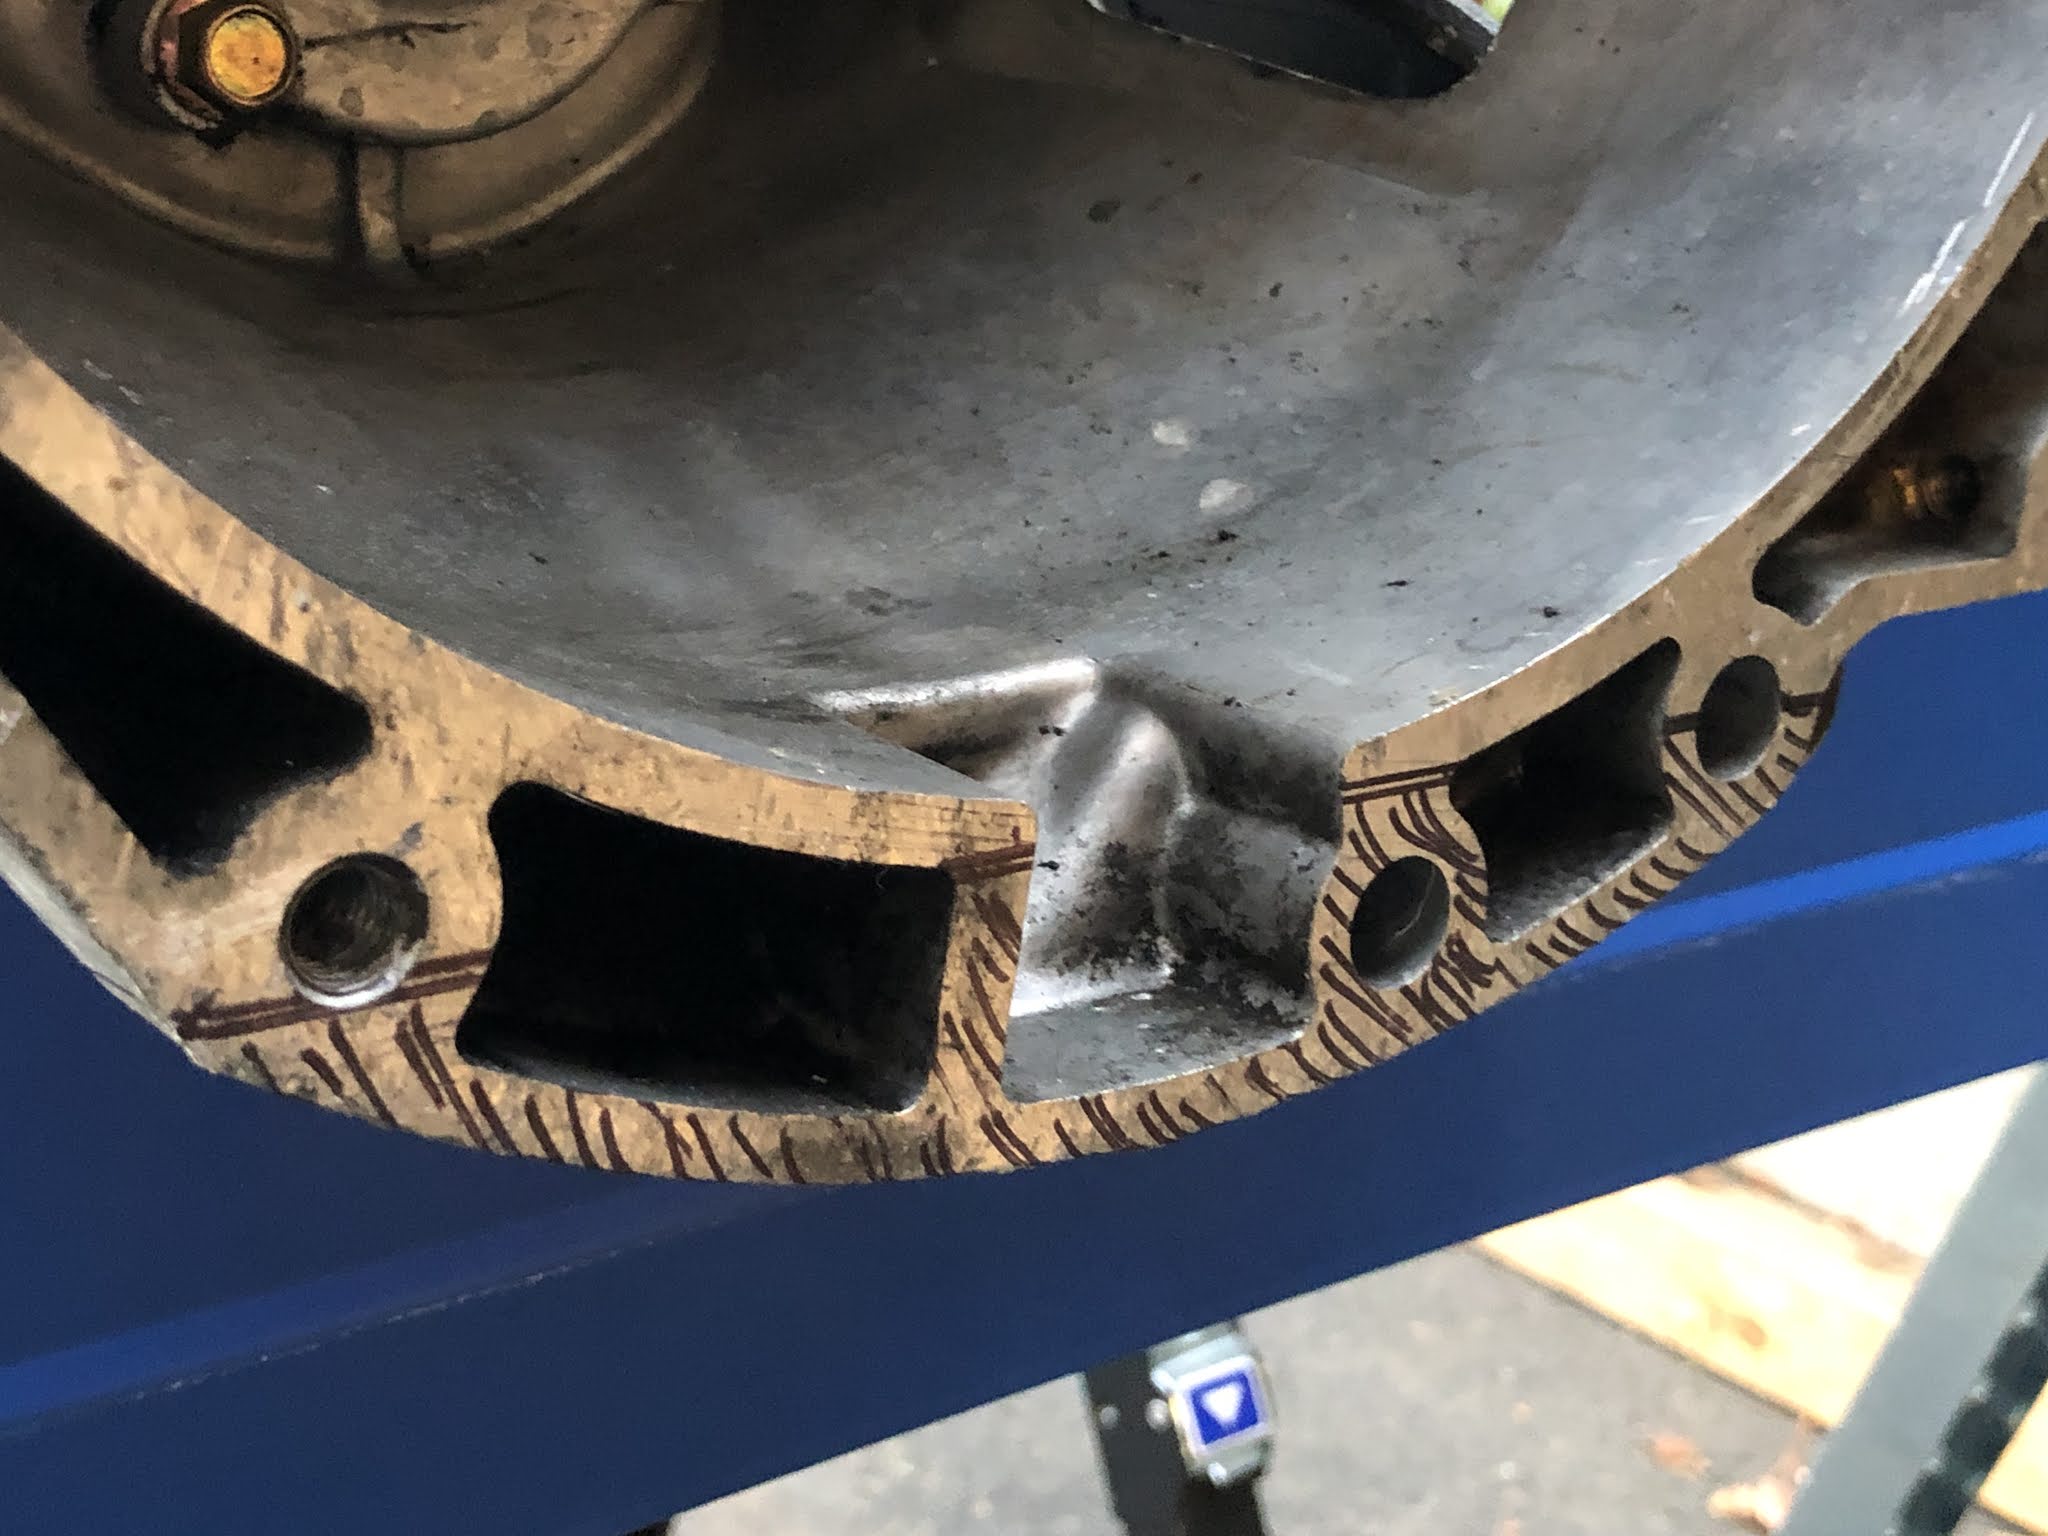
The clutch and flywheel installation were pretty straight forward. The flywheel is an 11lb unit I sourced on eBay, the clutch is a Flyin’ Miata level 1 NC 5-speed clutch. I opted to upgrade to ARP flywheel and clutch clover bolts for the installation, which I sourced from Massive Speed Systems.

ARP’s installation instructions for their flywheel bolts differ from the factory service manual.
  • Apply the included ARP lubricant to the bottoms surfaces for the flywheel bolt heads. A little bit will go a long way.
  • Apply LocTite 242 to the threads of the flywheel bolts, then install the flywheel and bolts.
  • Following a star pattern, torque the flywheel bolts to the final torque value of 95lb/ft while keeping the engine/crank from rotating.
ARP offered not instructions for the pressure plate bolts however they did include a small sample of red LocTite with the bolt kit.  I have opted to use blue LocTite gel, approximately the same strength as LocTite 242.  All pressure plate bolts were torqued to 38 lb/ft per the Haynes MX-5 workshop manual.

Fresh pilot bearing was installed using a 19mm socket and impact extension.


Starter Motor

Back in July I bought an NC 5=speed starter motor from a Miata breaker in Texas for the whopping sum of $55. It came out of a car with somewhere in the neighborhood of one hundred and twenty thousand miles.  Installation was smooth and easy.  I used socket cap head screws, torqued down to 38lb/ft

Sunday, November 8, 2020

General-Shop: Torque Adapters

 Today I'm reminded that, sometimes, it's hard to get some fasteners to properly torque them down without some kind of adapter or lever.  The problem is that when you add an adapter/lever to reach a hard to get to fastener you change the lever length of the torque wrench and thus change/increase the amount of torque that's being applied, sometimes by a lot.  Fortunately there's math for that.

In the most simple application where we have to extend the total arm length we have to reduce the amount of torque applied the formula looks like this:

R = L * T / L + A

  • R = The reduced torque
  • L = The length of the torque wrench from the center of the head to the center of the grip.
  • T = The initial torque required.
  • A = The length of the adapter between the center of adapter heads.

In this case, I need to tighten a water neck bolt that's blocked by the water neck so I'm using a 10mm box end wrench as torque adapter:

  • T = 93 in/lbs
  • L = 240mm
  • A = 120mm

When you boil this down you get the following:

  1. R = 240 * 93 / 240 + 120
  2. R = 22320 / 360
  3. R = 62 in/lbs 

For a more torque adapter formulas, go here:

http://www.fordservicecontent.com/renderers/torquewrench/wrench_formula_main_en.asp

Side Note: The specified torque value for the thermostat housing/water neck on the 2.5L Ford Duratec is 89 in/lbs (7.1 lb/ft), I'm going with the higher generalized torque value of 91 in/lbs (7.6 lb/ft) because .5 lb/ft difference is effectively a rounding error.

Friday, November 6, 2020

Project-Zero: Oil pickup tube install

 Been a while Stuff has happened.

GBS shipped me a now oil pickup, it arrived this week after what felt like an eternity so that’s now installed. The oil pain and oil filter housing are also now installed on the engine.

The pickup requires an o-ring seal, the original Ford o-ring seal does not fit in this application. (GBS machine the mating flanges, they could make it use the Ford o-ring if they wanted.) I think the most correct size is a Dash 022 o-ring but in a pinch a 1.0625” inside diameter ring will also work.

Cap screws get a dab of blue thread locker to make sure they don’t back out  and are torqued to as close to spec as possible.


The pan and oil filter housing go back onto the engine after cleaning up the mating surfaces. Carefully scraped them down with a razor blade, then wiped them with acetone. Black RTV applied per the tube instructions to seal the pan  and filter housing. Final torque per Ford Fusion Haynes manual.