Monday, October 18, 2021

Project-Zero: Wing/Fender Mounts

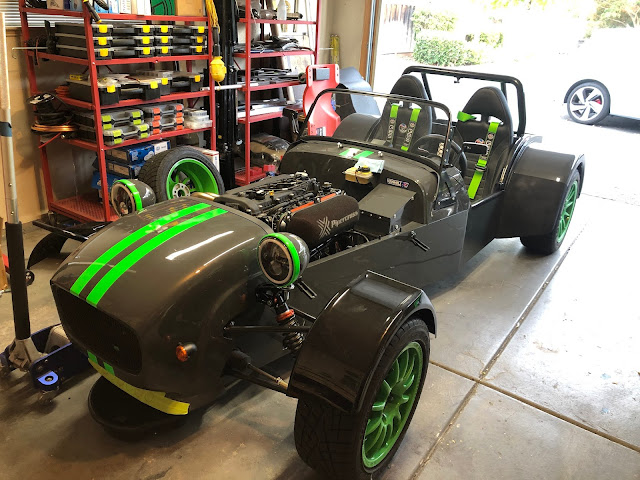
I caused a fair bit of irreparable damage to the original front cycle fenders on the car.  I ordered a set in black gel coat GRP from Kit Cars Direct as a quick replacement.  I'm not super thrilled with them but they'll work.

To mount them to the car, I'm using M6x1.0 bond-in studs and 3D printed (PETG) saddles that will clamp over the fender stays.  To bond the studs to the underside of the fenders I'm using polyurethane adhesive that came with the GBS Zero kit that I have not yet used anywhere else in the car.

UPDATE: This process has worked well except that the Alpha 123 PU Sealant is stupid and you shouldn't use it for this application.  What you should use is 3M 3815 panel bonding adhesive...It's the stuff they use to glue McLarens together.   Also, you should use bond-in studs with larger base.  I've updated the materials section.

Materials:

  1. M6x1.0x12mm bond-in studs - https://www.mcmaster.com/97590A881/
  2. 3M 3815 Panel Bonding Adhesive - https://www.amazon.com/dp/B00596RP8A/ref=cm_sw_r_tw_dp_1QWN42PXAFB18251X21R

Process:

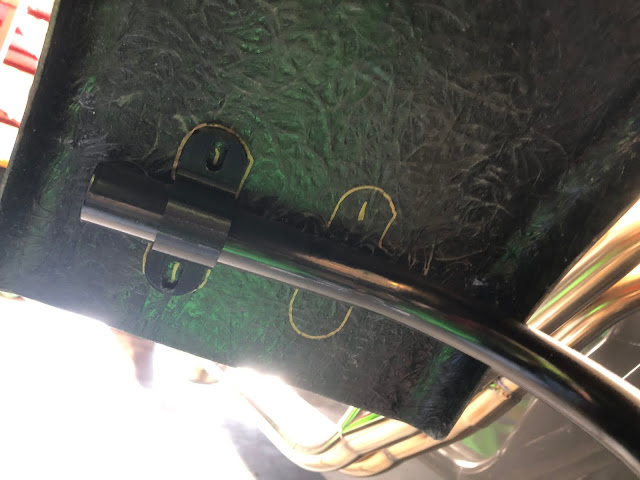
  1. To place the fenders, I used a digital angle finder to level out the fenders before sketching out the locations where I wanted the saddles to sit with a gold Sharpie marker.
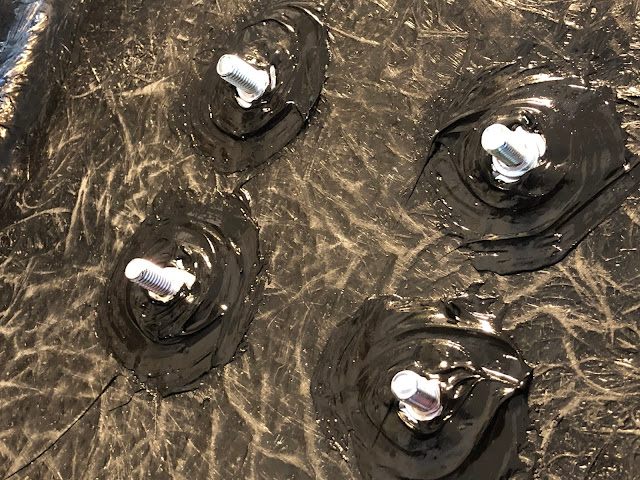
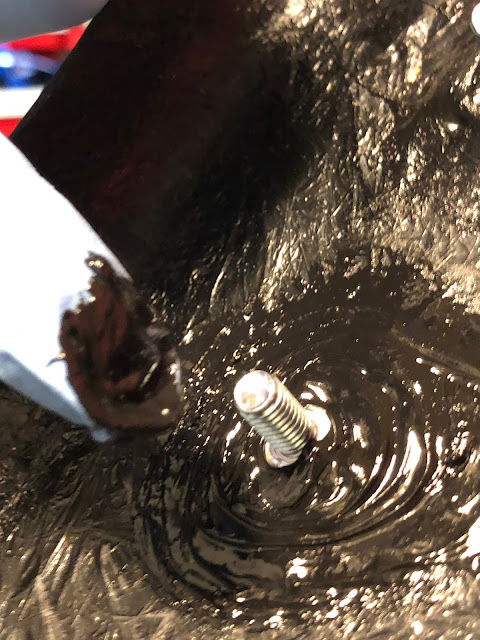
  2. Then I squeezed sealant/adhesive on the backs of the bond in studs before smooshing them into place on the inside of the fenders.
  3. Using nitrile gloves and a little bit of rubbing alcohol, I smoothed the adhesive over and around the base of the studs.
  4. Allowed to cure for 24 hours before mounting the fenders.
  5. The poly sealant has a sheer strength of about 7lb/ft.  That's fine, you really shouldn't need to torque very tightly anyway. (Torqe to 5-6lb/ft or 60-70lb/in of force)


Project-Zero: Wiper Arm Modification

NOTE: I am not using these wiper arms.  Instead I bought a better set from an outfit in the UK.

The wiper arms that shipped with my GBS Zero kit were way too long and needed to be modified. The first go at this I just cut the blade to fit but that was...not good.

The second go, I drilled out the rivets holding the wiper arm together, marked the length needed for the the blade fit the windscreen at the highest point in its sweep.  Marked it up, then drilled the arm. Before I riveted the arm back together, I made the same mod to the other wiper arm using the first as template so that they're the identical length.

Before and after pic.


Thursday, October 7, 2021

Project-Zero: Charge Warning Lamp Circuit

 Not that long ago I built an alternator exciter/charge warning indicator for the Zero.  I thought I would follow that up a bit.

The idea is that you want to have a way to 1) excite the alternator field so that it actually charges at idle and 2) have something that will tell you when the alternator is putting out less juice than it should be.

The circuit itself is very simple and has been used in cars since the invention of alternators.  basically, you you create a circuit with a diode and a resistance load that connects the positive terminal of the battery with the positive output of the alternator.

If the forward voltage from the alternator is greater than the forward voltage from the battery, the diode will force current to flow through the nominal load of the resistor and prevent the lamp/led from illuminating. 

If the forward voltage from the battery is greater than the voltage from the alternator, current will flow through the diode thus illuminate the warning signal.


My particular circuit uses an LED because...well...the circuit required a diode so why shouldn't it do double duty?  You can make the exact same circuit using an incandescent bulb but...why?  Anyway, I've included diagrams of an incandescent version of the same below.


Wednesday, October 6, 2021

Project-Zero: Steering Wheel stuff.

 After spending a good amount of time in the car last week doing the CHP inspection/VIN assignment thing I've decided that I need to revisit the steering wheel on my Zero a bit.

  • The hub adapter and quick release adapter length is ridiculously long and not really all that comfortable to use. 
  • The steering wheel feels a little too small for my liking.

The quick release is ~2.5 inches long, the hub is ~3.3 inches long.  It's just...dumb.

For now, I'm deleting the quick release. In the future I'll modify the steering wheel hub adapter (cut off the crash structure, drill and tap bolt holes) and maybe swap to a thin quick release adapter. (https://getnrg.com/collections/quick-releases/products/srk-400)

As for the wheel, I've swapped in my spare NRG 320mm steering wheel to see if I like it any more than the 300mm MOMO wheel.