Over the weekend I went on a British car rally. Some 350 miles, about 1/3rd of it bombing backroads in Napa and Sonoma. It's a great shakedown cruise for the Zero.
I'll let the video do the talking for the remainder if this post.
Over the weekend I went on a British car rally. Some 350 miles, about 1/3rd of it bombing backroads in Napa and Sonoma. It's a great shakedown cruise for the Zero.
I'll let the video do the talking for the remainder if this post.
Chatting with a friend, he mentioned that he didn't think the low pressure pump that GBS provided with his kit would sufficient. That got me thinking about my own car and whether or not my fuel pump would be sufficient for supplying my 2.5L engine.
Time for Maths.
This weekend I blitzed through a fun little side project to join inexpensive Bluetooth motorcycle headset/intercom systems into compact, folding hearing protective ear defenders.
I was inspired by a few DIY builds using inexpensive motorcycle intercom headsets. (And even Cardo Systems' own PackTalk headset.)
Materials:
The results are pretty great, to be honest. The sound quality is way better than I'd hoped for. Paired up to my phone they work extremely well, the controls are easy to use, and the they're reasonably easy to pair up. At $75 a pop, I'm not going to get too bent out of shape if somebody boosts them out of my car when I'm not looking.
As a bonus, the don't look much more janky than the Cardo solution.


I won't go into a full tutorial, other have done so already so I'll just link to one of them here:
It's been a minute since I've updated here. I have no interest in writing detailed accounting of the last six months on the project. The TLDR is the car's registered and plated, I've been doing shakedown drives.

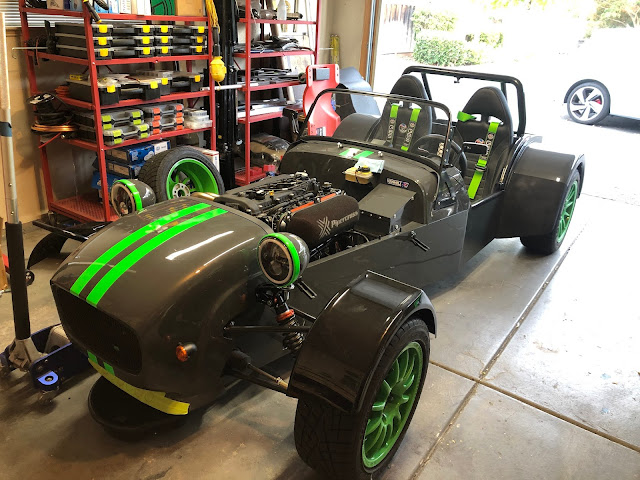
I caused a fair bit of irreparable damage to the original front cycle fenders on the car. I ordered a set in black gel coat GRP from Kit Cars Direct as a quick replacement. I'm not super thrilled with them but they'll work.
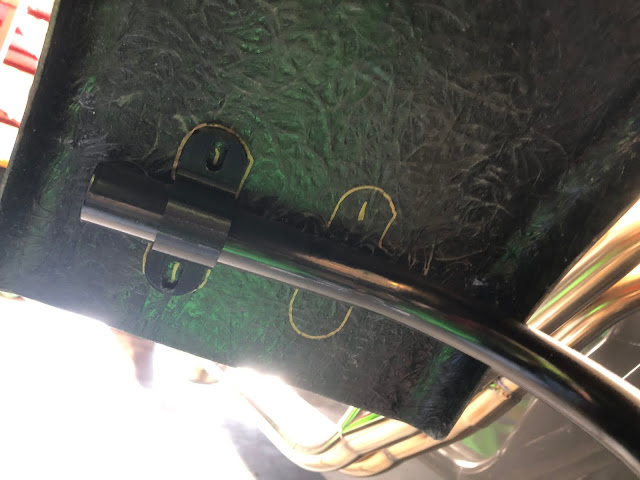
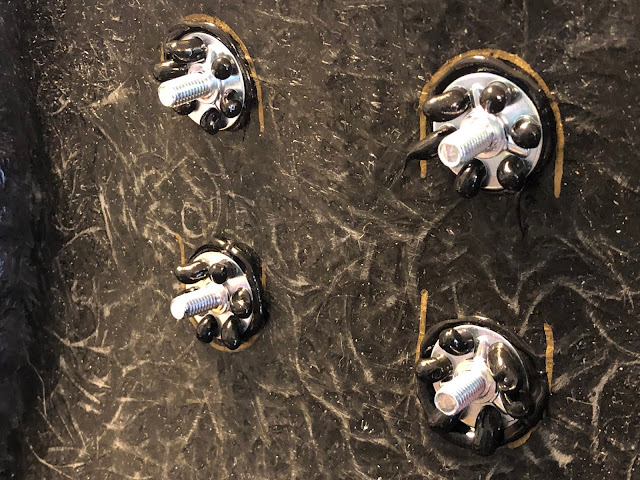
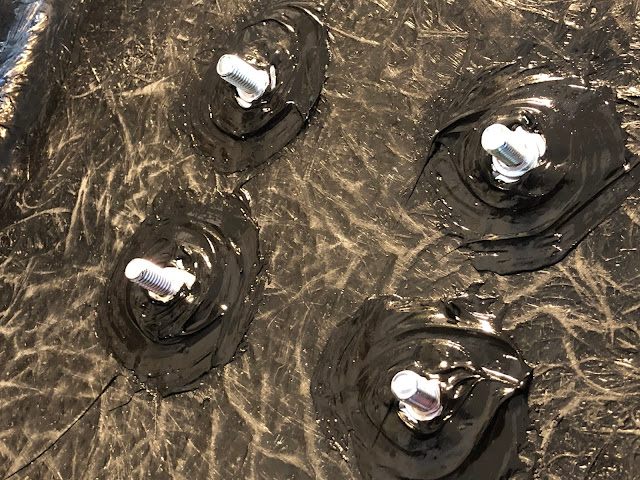
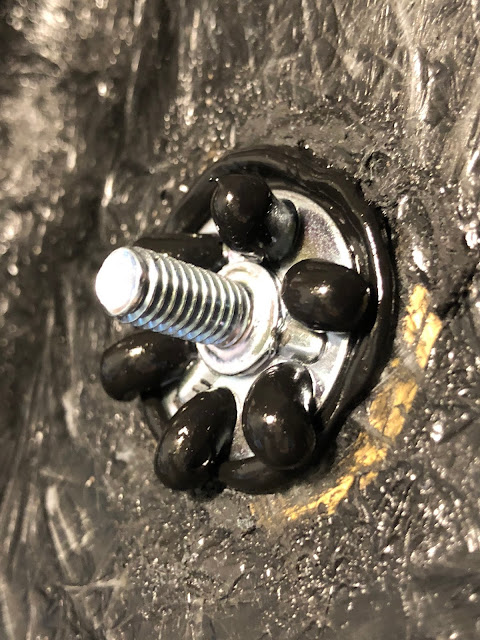
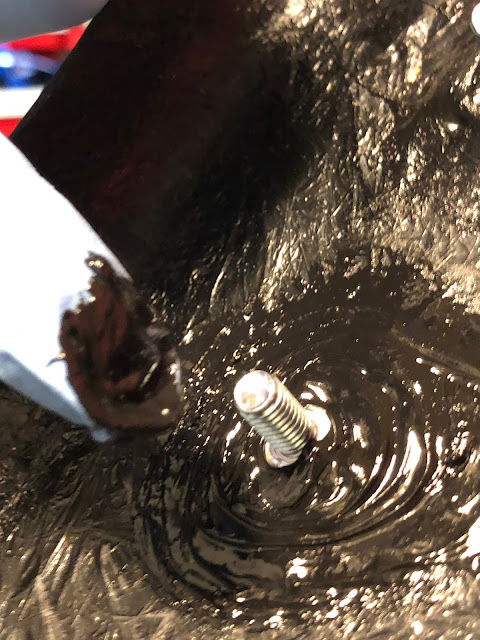
To mount them to the car, I'm using M6x1.0 bond-in studs and 3D printed (PETG) saddles that will clamp over the fender stays. To bond the studs to the underside of the fenders I'm using polyurethane adhesive that came with the GBS Zero kit that I have not yet used anywhere else in the car.
UPDATE: This process has worked well except that the Alpha 123 PU Sealant is stupid and you shouldn't use it for this application. What you should use is 3M 3815 panel bonding adhesive...It's the stuff they use to glue McLarens together. Also, you should use bond-in studs with larger base. I've updated the materials section.
Materials:
Process:
NOTE: I am not using these wiper arms. Instead I bought a better set from an outfit in the UK.
The wiper arms that shipped with my GBS Zero kit were way too long and needed to be modified. The first go at this I just cut the blade to fit but that was...not good.
The second go, I drilled out the rivets holding the wiper arm together, marked the length needed for the the blade fit the windscreen at the highest point in its sweep. Marked it up, then drilled the arm. Before I riveted the arm back together, I made the same mod to the other wiper arm using the first as template so that they're the identical length.
Before and after pic.

Not that long ago I built an alternator exciter/charge warning indicator for the Zero. I thought I would follow that up a bit.
The idea is that you want to have a way to 1) excite the alternator field so that it actually charges at idle and 2) have something that will tell you when the alternator is putting out less juice than it should be.
The circuit itself is very simple and has been used in cars since the invention of alternators. basically, you you create a circuit with a diode and a resistance load that connects the positive terminal of the battery with the positive output of the alternator.
If the forward voltage from the alternator is greater than the forward voltage from the battery, the diode will force current to flow through the nominal load of the resistor and prevent the lamp/led from illuminating.

If the forward voltage from the battery is greater than the voltage from the alternator, current will flow through the diode thus illuminate the warning signal.

My particular circuit uses an LED because...well...the circuit required a diode so why shouldn't it do double duty? You can make the exact same circuit using an incandescent bulb but...why? Anyway, I've included diagrams of an incandescent version of the same below.


